- Features & Documentation
- Shrink
Shrink: Star Appearance Manipulation

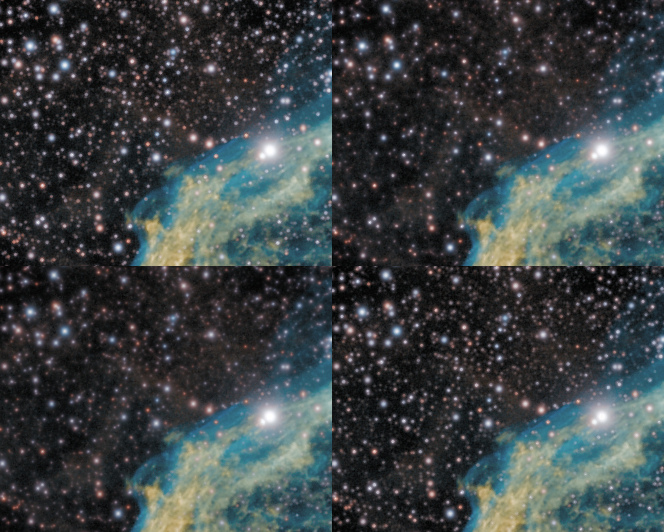
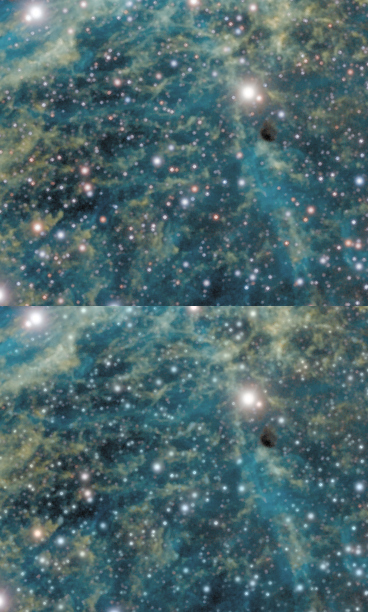
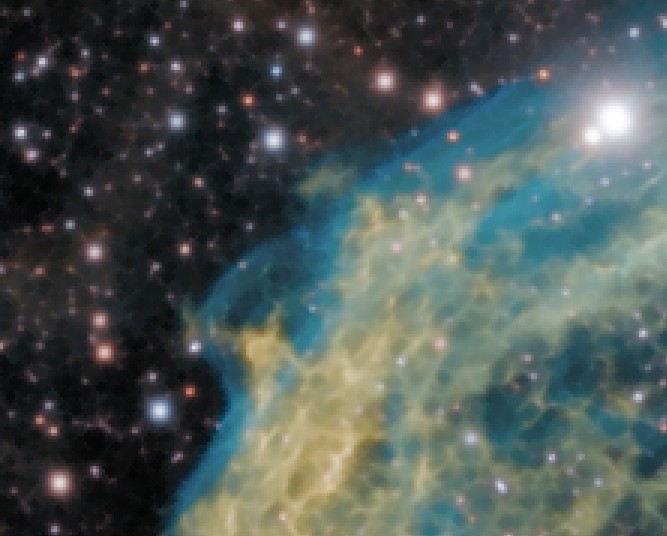
The Shrink module offers comprehensive stellar profile modification by shrinking, tightening and re-colouring stars.
Usage
A good star mask is essential for good results. Even though the Shrink module is much more gentle on structural detail, ideally, only stars are treated and not any structural detail.
The 'AutoMask' button launches a popup with access to two quick ways of creating a star mask. This same popup is shown upon first launch of the module. The generated masks tend to catch all major stars with very few false positives. If you also wish to include fainter, small stars in the mask, then more sophisticated techniques are recommended to avoid including other detail.
Finally, if your object is mostly obscured by a busy star field, for example in a widefied, then also consider using the Super Structure module to enhance the super structures in your image and push back the busy star field. Combining both the Shrink module's output and the Super Structure module's output can greatly transform a busy looking image in positive ways.
Parameters

Two 'Mode' settings are available;
- 'Tighten' has the effect of tightening a stars around their central core.
- 'Dim' has the effect of dimming stars luminosity.
The Shrink module uses an iterative process; the strength of the Tighten or Dim effect is controlled by the number of 'Iterations', as well as the 'Regularization' parameter that dampens the effect. The stringing and pitting artefacts commonly produced by less sophisticated techniques, is thereby avoided.

The 'Color Taming' parameter forces stars to progressively adopt the colouring of their surroundings, like "chameleons".
The 'Halo Extend' parameter effectively grows the given mask temporarily, thereby including more of each star's surroundings.
If the image has been deconvolved or sharpened and the stars may be subject to subtle ringing artefacts, then the 'De-ringing' parameter will take this into account when shrinking the stellar profiles, as to not exacerbate the ringing.
The 'Un-glow' feature attempts to reduce the halos around bright, over-exposing stars. 'Un-glow Strength' throttles the strength of the effect. The 'Un-glow Kernel' specifies the width of the halos.
Creating a suitable star mask
A good star mask is essential for good results. Though the Shrink module is much more gentle on structural detail than the basic unsophisticated morphological transformations (such as minimum filters) found in other software, ideally, only stars are treated and not any nebulosity, gaseous filaments or other structural detail.
The 'AutoMask' button launches a pop-up with access to two quick ways of creating a star mask. This same popup is shown upon first launch of the module. The generated masks tend to catch all major stars with very few false positives. If you also wish to include fainter, small stars in the mask, then more sophisticated techniques are recommended to avoid including other detail.
Besides touching up the mask by hand, it is also possible to combine the results of an aggressive auto-generated star mask (catching all faint stars), with a less aggressive auto-generated star mask (catching fewer faint stars, but also leaving structural detail alone);
- Clear the mask, and select the part of the image you wish to protect with the Flood Fill Lighter or Lasso tool, then click Invert.
- In the Auto mask generator, set the parameters you need to generate your mask (here we choose the 'Stars' preset and set the 'Source' parameter to 'Stretched' to avoid any noise mitigation measures that may otherwise filter out faint stars for selection). Be sure to set 'Old Mask' to 'Add New Where Old Is Set'.
- After clicking 'Do'. The auto-generator will generate the desired mask, however excluding the area we specified earlier.
- Launch the Auto mask generator once more. Click the 'Stars' preset again. This time set 'Old Mask' to 'Add New To Old' to add the newly generated mask to the mask we already have. This will fill in the area we excluded earlier with the less aggressive mask as well.
You may also be interested in...
- S. Sheriff, Spain (under Testimonials)
No nonsense, affordable astro software that just works.
- Apodization Mask (under Usage)
It is highly recommended to to include as much of a star's stellar profile in the mask as possible.
- Facebook 3d photos (under Exporting 3D)
Nevertheless the result can look quite pleasing when simply browsing past the image in a Facebook feed.
- Usage (under Entropy)
The Entropy module is very flexible in its image presentation.
- Touchscreen (under Interface)
