- Quick Start
- Step 2
Step 2: Inspect your dataset
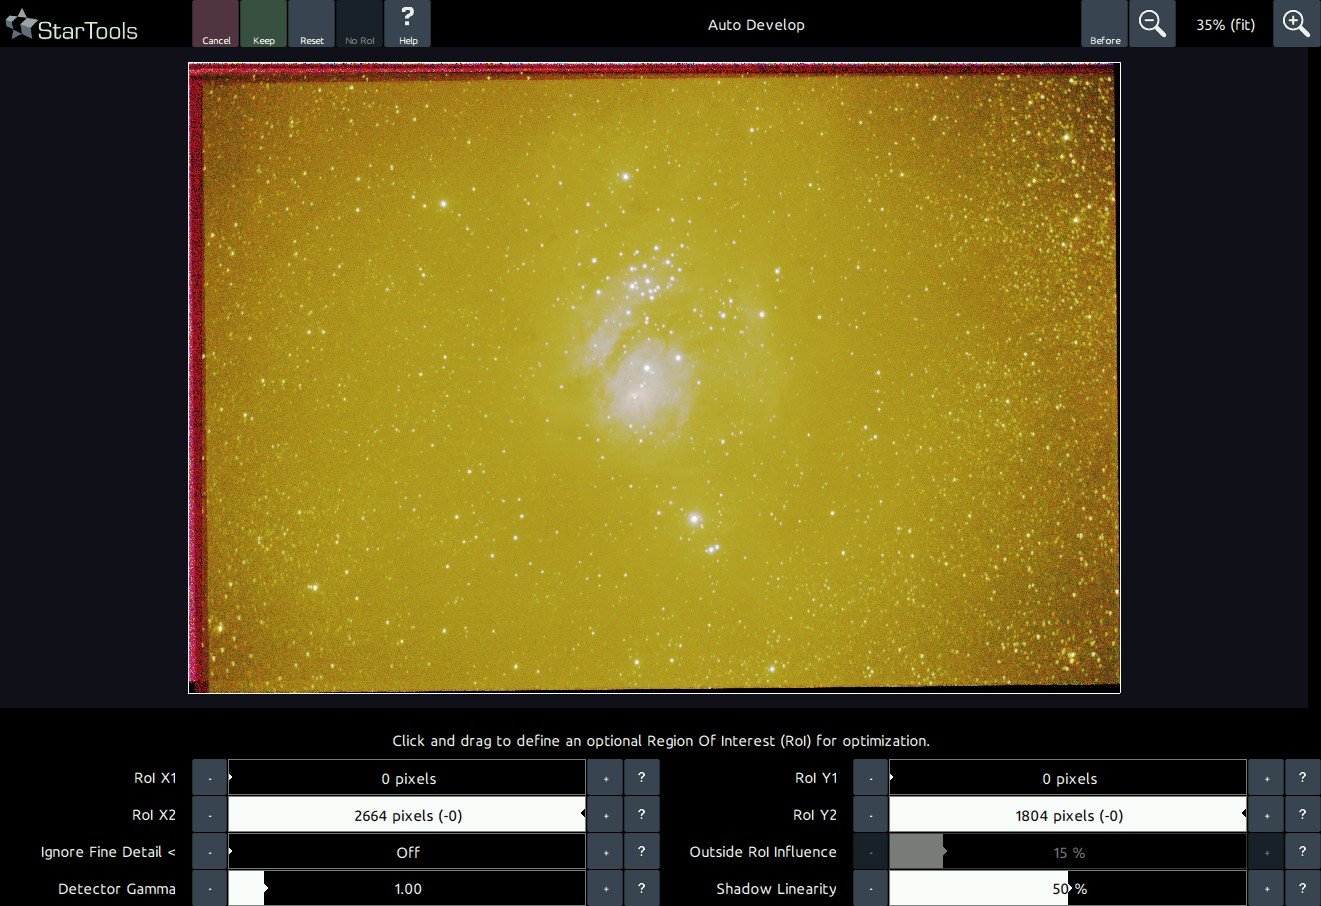
Launch AutoDev to help inspect the data. Chances are that the image looks terrible, which is - believe it or not - the point. In the presence of problems, AutoDev will show them until they are dealt with. Because StarTools constantly tries to make sense of your data, StarTools is very sensitive to artefacts, meaning anything that is not real celestial detail (a single color bias, stacking artefacts, dust donuts, gradients, terrestrial scenery, etc.). Just 'Keep' the result. StarTools, thanks to Tracking, will allow us to redo the stretch later on.
At this point, things to look out for are;
- Stacking artefacts close to the borders of the image. These are dealt with in the Crop or Lens modules
- Bias or gradients (such as light pollution or skyglow). These are dealt with in the Wipe module.
- Oversampling (meaning the finest detail, such as small stars, being "smeared out" over multiple pixels). This is dealt with in the Bin module.
- Coma or elongated stars towards one or more corners of the image. These can be ameliorated using the Lens module.
Make mental notes of any issues you see.
You may also be interested in...
- L. B., United States (under Testimonials)
- Launching the Color module (under Usage)
Upon launch, the colour module blinks the mask three times in the familiar way.
- Usage (under Denoise)
- Usage (under Shrink)
This same popup is shown upon first launch of the module.
- Parameters (under Usage)
The 'Un-glow' feature attempts to reduce the halos around bright, over-exposing stars.