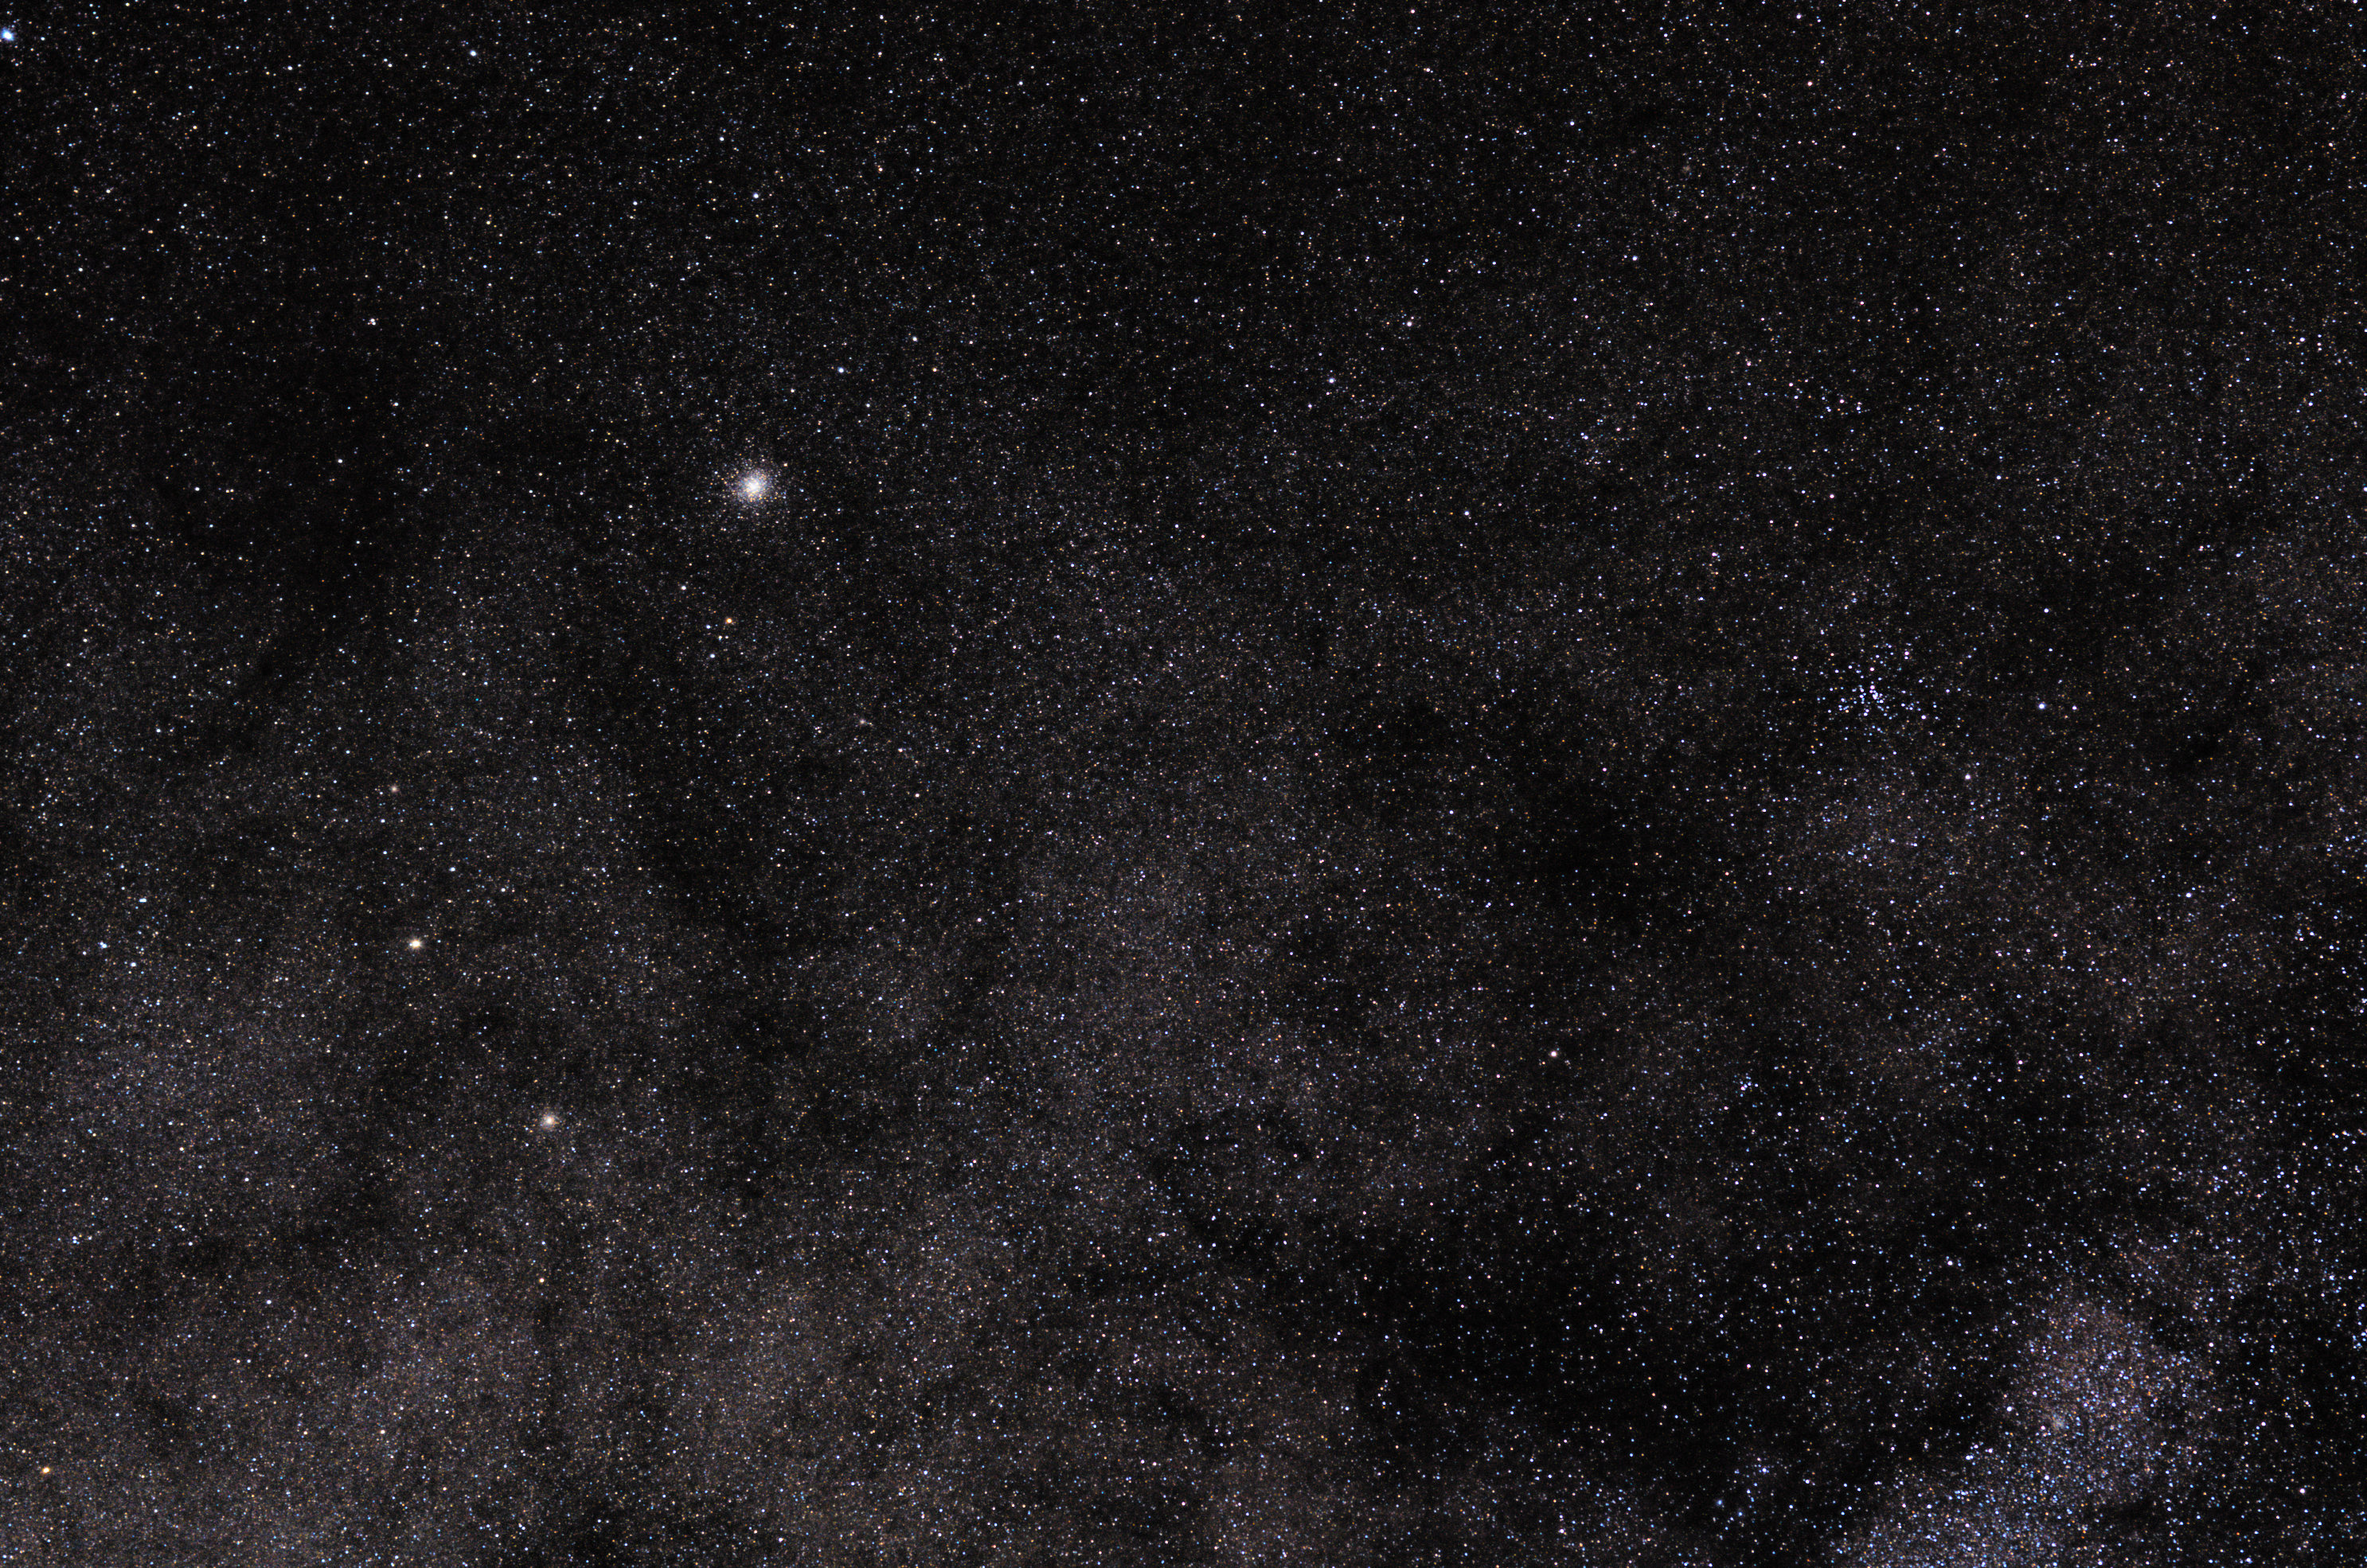
celeron787 wrote:Ah, so I kinda over-processed it lol.
I did some highlights and color adjustment, pushed the yellows and orange in Lightroom as my stars were mostly purplish. Oh I also used photoshop for star reduction, the shrink stars module gave me a very blotchy and mottled result.
Would you mind giving the data a go, would love to see your processing log, I'm still have much to learn

No problem. The biggest thing to understand about post-processing
for AP, is that, if you are familiar with image processing for terrestrial purposes, any techniques or programs you may have used for that purpose are mostly not applicable. That is, if you're interested more interested in scientifically useful/correct photography rather than 90s album cover art

Noise reduction, color correction, sharpening, etc. Leave them at the door; 9 times out of 10 they are destructive or detrimental to your signal and final image.
Every module in ST has AP-specific functionality. Rather than jumping into PS, The GIMP or Lightroom. And if something isn't there at first glance, ask the question
why it may not be there. Sometimes it
is there, just in a form that is AP-friendly), or just might not work in the way you thought it would.
--- AutoDev
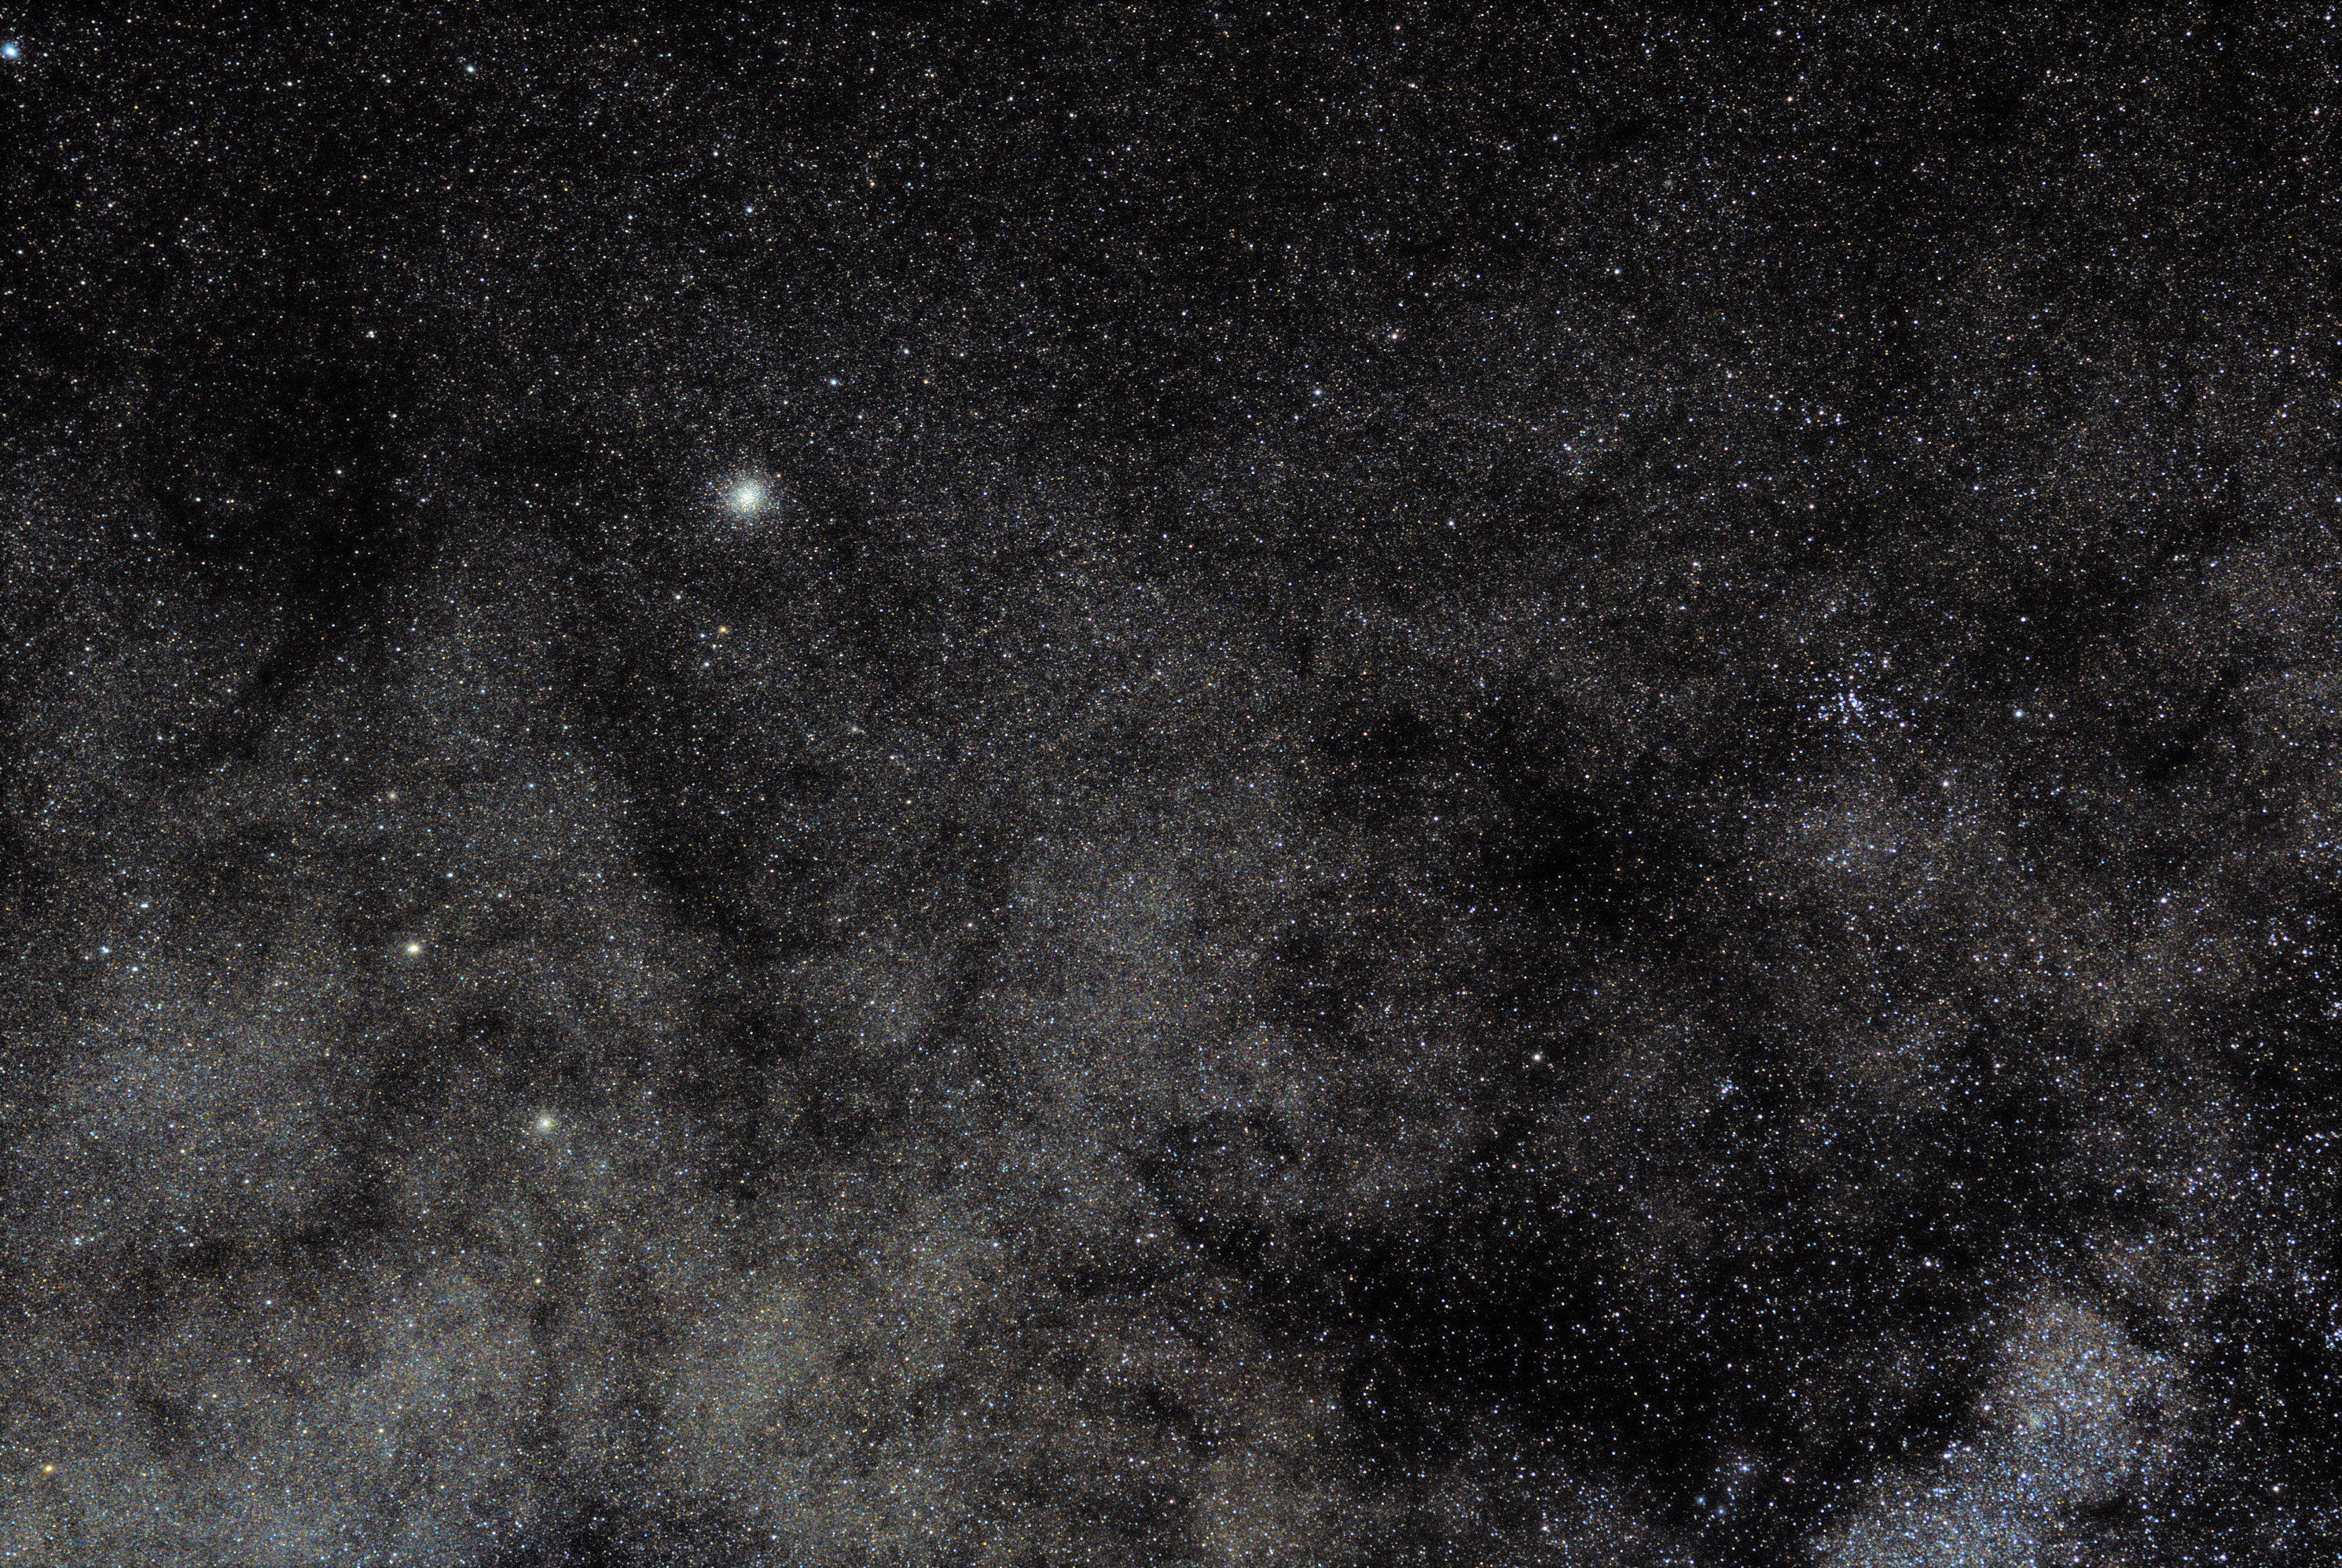
Tto see what we got. We can see eggy stars. Gradient. Tiny stacking artefacts left and top.
--- Bin
Bin 50%
--- Crop
3 pixels off all borders (just to be safe)
--- Wipe
Default settings
--- AutoDev
Final global stretch
RoI over M22
X1 907, X2 995, Y1 600, Y2 668
(optional) --- Life
Isolate preset (which is default settings). This re-emphasises larger scale structures. May take a while to compute.
--- Decon
Instead of shrinking stars, let's try to coalesce them back into point-lights.
Conservative Mask.
Primary radius 1.2 pixels.
Note in particular the recovery of stars in M22 and M28.
I won't bore you with how crazy/amazing it is that Decon is able to do all this on a heavily processed image.

--- Color
Default settings, however with Cap Green set to 100%.
The average color of the milky way is... milky (white).
The Sample button samples all pixels in the mask (by default all pixels) and sets the Bias parameters in such a way that the average color becomes white.
It does this on launch too and that is how it got its default Bias multipliers for your image. In other words, these values should be roughly correct already for a <ilkyway shot. Things that can throw off this assumption/detection is severe chromatic aberration - yours is only minor and further helped by preparing and importing the dataset as not color balanced.
It is also possible to apply the camera matrix for your A6000, however this seems to make things (e.g. chromatic aberration) quite a bit worse in your case. In general applying your camera manufacturer's color correction matrix (meant for terrestrial purposes) does not help a whole lot in AP (it tends to exaggerate reds mostly). There is a reason why OSCs don't have them. Without applying the matrix, your color rendition will look like that of an OSC, which is usually more useful.
You should notice that the purple star problem isn't too bad. However, if it bothers you, there are a couple of things you can do;
- You can increase the Highlight Repair parameter in the Color module.
- You can run the Filter module and run a digital Fringe Killer filter.
(optional) --- Filter
Mask > Auto > Fat Stars > Do > Grow until the mask covers the offending stars. Deselect any stars you don't want to process.
Back in the Filter module, set Filter Mode to Fringe Killer. Sampling method to "Single Pixel" (given the stars are so small).
Now zoom in and click - a few times - on any pixel whose color is offensive. The color will slowly disappear.
No real need for noise reduction.

